
Let’s Wet Felt A Ball Necklace
This is a perfect piece for children as it’s soft, colorful and easy to wear.

Guest Tutorial by Vanda Sousa
Lets start this super easy wet felting tutorial to use those arm knitting scraps of wool roving you have laying around by making a wet felted necklace.
Be sure to watch the video for expert secret tips that aren’t written out
in the article below!
What you’ll need:
- Bar soap or liquid soap
- Bowl of warm water
- Bubble wrap (or something bumpy that you can get wet)
- Optional – Felting needle and sponge
- You’ll also need some elastic cord, or regular cord and some small to large sewing needles (to make the holes in the balls for the cord to pass through)

Step 1 – Divide The Wool Roving
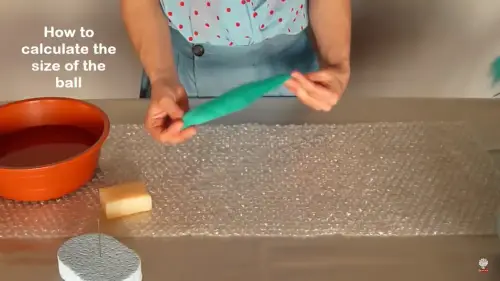
First you’ll want to pull off a section of wool roving and split it in half, then gently stretch it out. Thinner roving felts up faster and smoother, but don’t pull it too thin or it won’t stay together.
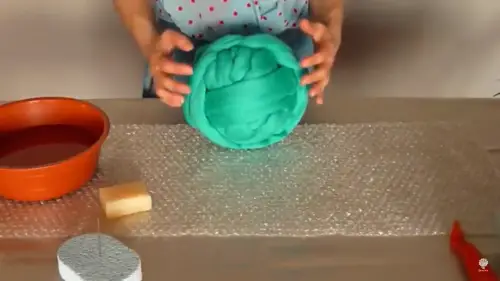
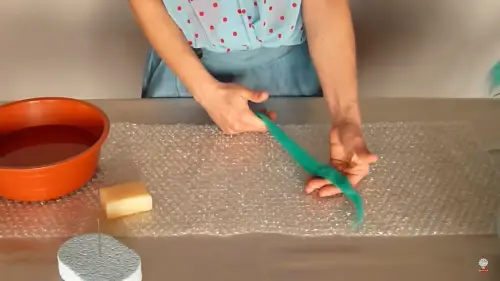
Step 2 – Tie A Knot and Fold
After you’ve stretched out your roving you’ll need to tie a knot (or two even) in the center of your piece of roving, then gently fold the remaining tails one after another until you have a rough looking ball and the tails are used up.

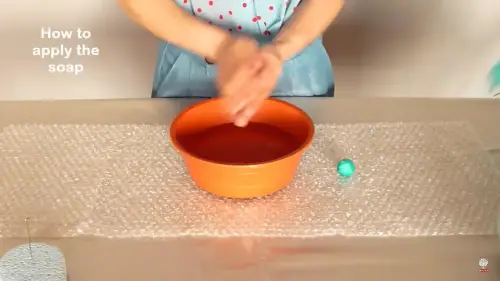
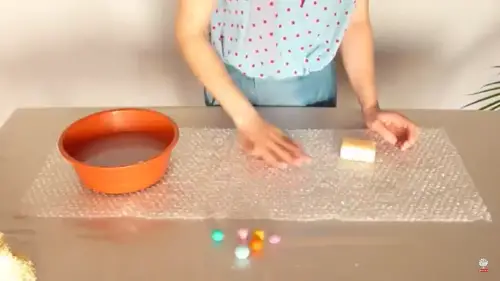
Step 3 – Make The Ball
Now you should have a very loose ball. You can needle felt it a bit so it holds together better then simply soap up your hands with a bit of water and begin rolling the ball around until it gets harder and smaller OR skip the needle felting part and start rolling the ball around in your wet soapy hands.
Wet felting takes time so be patient. You can also use the bubble wrap instead of your hands to roll the ball on.

Step 4 – Make Holes For Necklace
After your balls have been completely felted, rinsed and left to dry completely you can now use a small needle to make holes in them. Start with a smaller needle, then use a larger needle in the same hole working up to a knitting needle if need be to make the hole large enough for the cord to pass through.

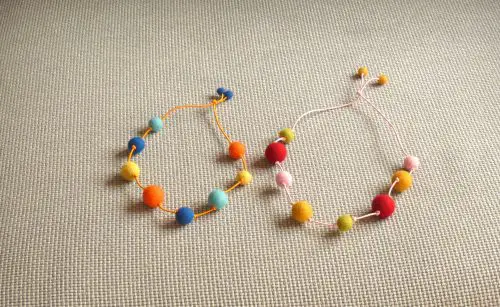
Step 5 – Thread The Cord and Tie Balls In Place
Make sure you space the balls exactly where you want them, then tie the knots on each side of each ball.

Step 6 – Felt Necklace Ends
This part is what really give the necklace such a cute finishing touch. Tie a knot and the end of each cord. Stretch out some more very very thin wool roving and wrap it around the end. Felt it up the same way you did the balls and then FINISHED!
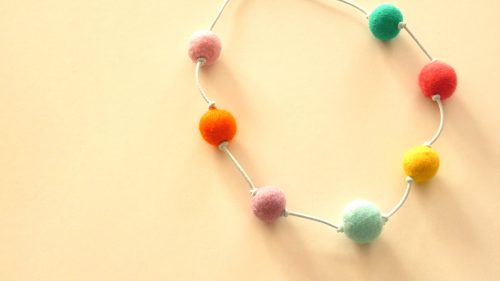
You should have a gorgeous necklace that looks something like this!
If you’ve enjoyed this tutorial be sure to follow Vanda on facebook or subscribe to her newsletter for more wet felting news.
Want to see more of Vanda’s wet felted creations?
Click below to visit
