Let’s Get Crocheting!
This is a super easy beginners tutorial, and perhaps the way I’ve written would incur the wrath of regular crocheters because of it’s easy but imperfect pattern.
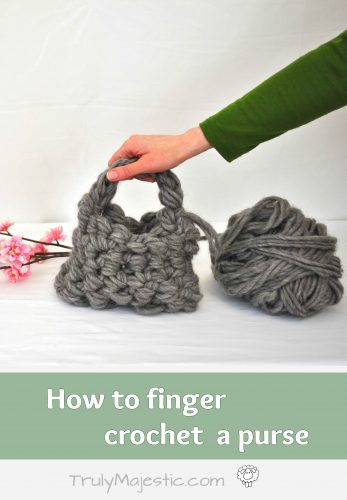
Normally you should slip stitch to join each round and use a stitch marker, but because it’s a purse and the imperfections aren’t very noticeable we’ve skipped all that and just crocheted up and around as if there are no rounds.
Here we go!
What you’ll need:
- Pencil Roving (or super chunky yarn)
- Your fingers!
Step 1. Make the Purses Base
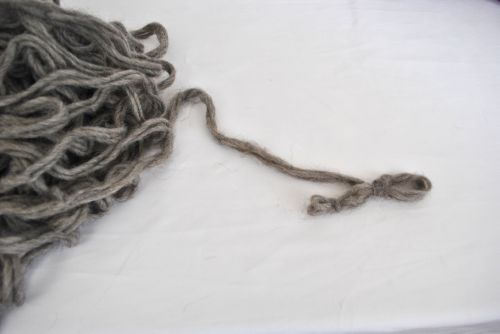
- Tie a slipknot
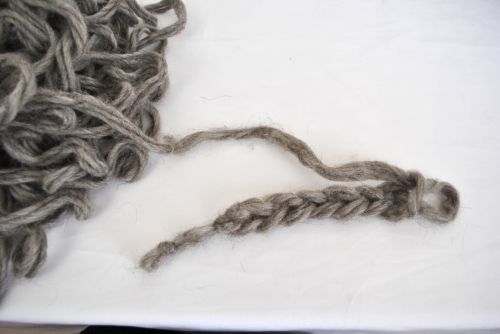
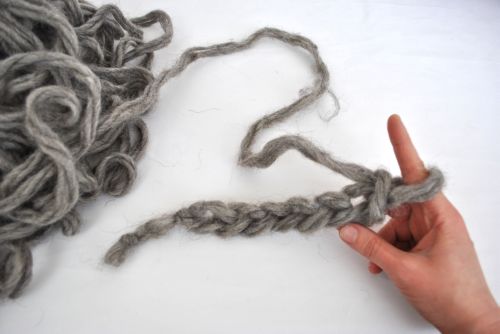
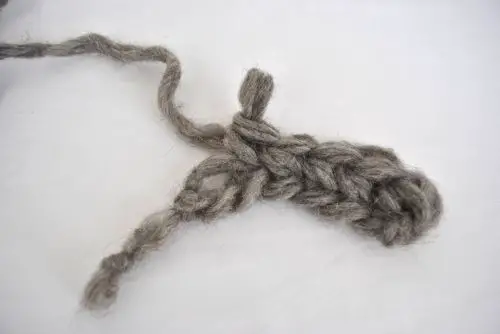
- Chain 7 Stitches
- Now put a single crochet (sc) into each straight stitch until you get to the end of the chain. For help with a single crochet stitch see here.
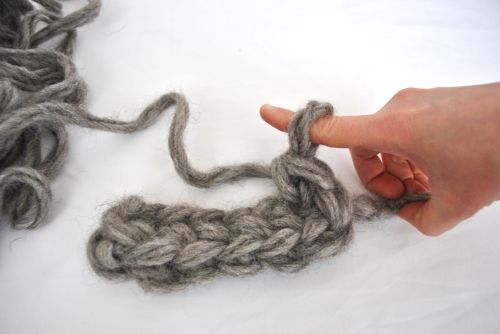
- Put 3 sc’s into the last stitch on the end to give the purse a nice rounded edge.
- Continue to sc in each stitch until you get to the other end of the purse and again put 3 extra stitches in the end
- Slip Stitch to finish. For help with a Slip Stitch see here:
Step 2. Build Up The Purse
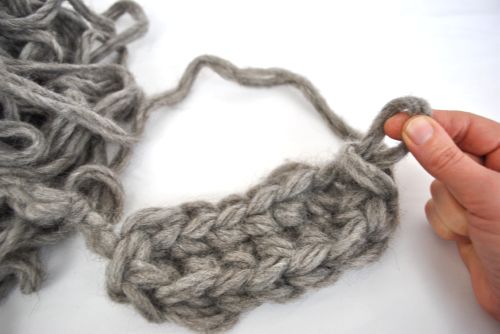
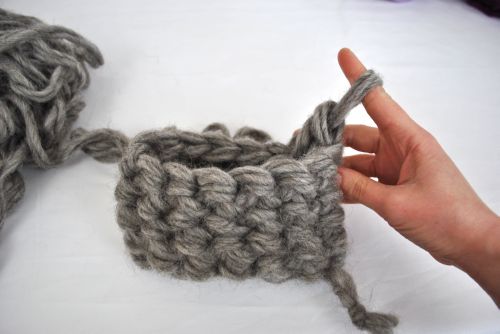
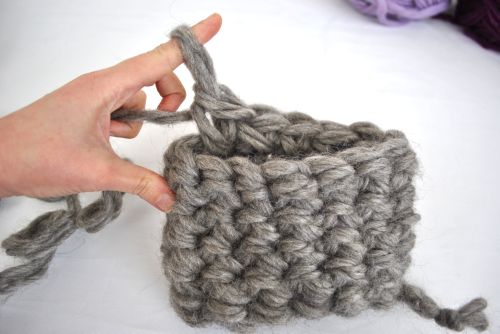
- Single Crochet into each stitch from here onwards until the purse is the height you want. 1 sc into each stitch…. easy!
Step 3. Finger Crochet the High Edges
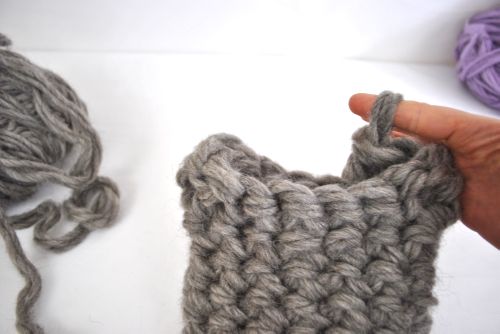
- When you get to the 3 stitches that go around the corner of the purse, put a double crochet (dc) into each stitch. This makes the higher edges of the purse.
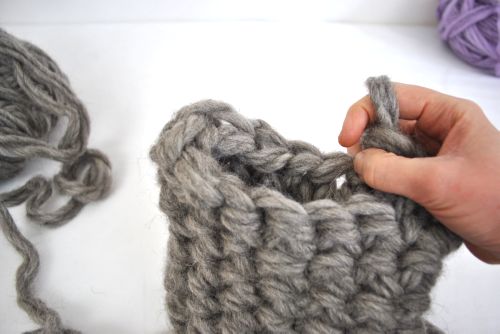
- Single crochet the rest of the stitches until you get to the 3 corner stitches on the other side and put a dc into each of those stitches.
- Single crochet until you’re in the middle of the purse and slip stitch to finish off.
Step 4. Make the Handle
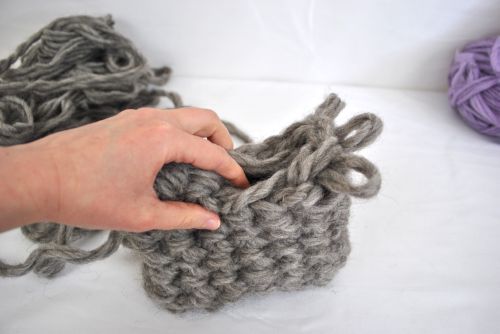
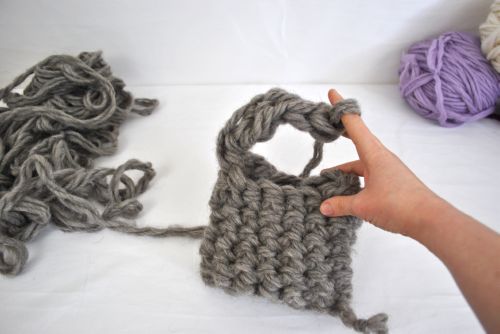
- Put new loops through the last 3 stitches on the corner, and pull one stitch through those three together. Now create 2 extra stitches not counting the one already on your finger (you should have a total of 3 with that one). Watch the video for this part, it’s impossible to explain!
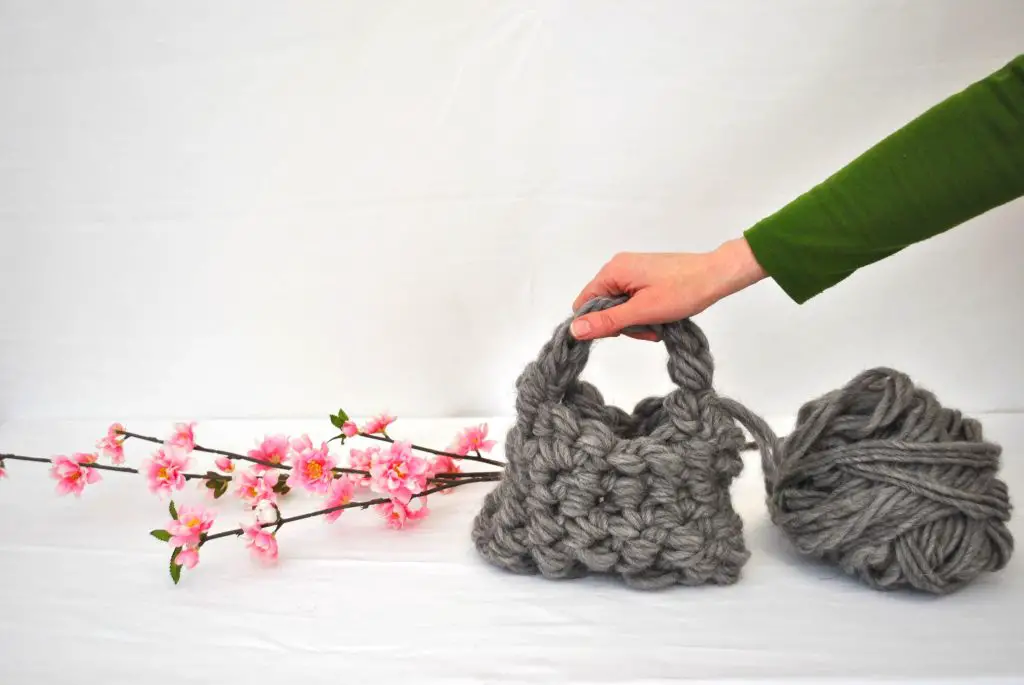
Finished!
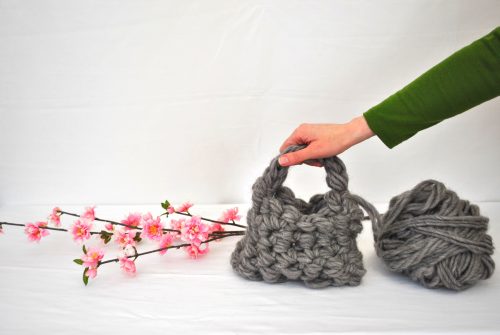
Your purse should look something like the purse below.
Want to share a picture of your purse?
Pop a pic of it into the comments on facebook here.

